Why Documenting Your Rental Property Is the Smartest Decision You Can Make as a Landlord
Renting out a property means entrusting your asset to people you may not know well. That's why thorough documentation of your property's condition before and after each tenancy isn't a luxury — it's a necessity. A detailed record protects you against unfair claims, makes dispute resolution straightforward, and gives you peace of mind throughout the entire rental relationship.
In this guide, we'll walk you through the best practices for documenting your rental property professionally, from the first walkthrough to the final key handover.
1. The Move-In Inspection: Your Most Important Step
The move-in inspection is the cornerstone of all good documentation. It should take place on the same day the tenant receives the keys, ideally with both parties present. The goal is to record the exact condition of every element in the property: walls, floors, ceilings, appliances, fixtures, and any furnishings.
What to Include in the Move-In Inspection
- High-resolution photographs of every room, taken from multiple angles. Don't overlook details: light switches, faucets, windows, doors, and locks.
- A walkthrough video of the entire property, with audio describing the condition of each element.
- Utility meter readings for water, electricity, and gas, with a photograph of each.
- A detailed inventory if the property is furnished, with a description of the condition of each item.
- Notes on pre-existing damage: stains, scuffs, cracks, or any imperfection that existed before the tenant moved in.
All of this information should be captured in a document signed by both parties. Tools like CertiPlace allow you to create timestamped, geolocated visual records, adding an extra layer of reliability to your documentation.
2. Smartphone Photography vs. Professional Photography
You don't need to hire a professional photographer to document your rental property, but you should follow some basic guidelines. Image quality matters: a blurry or poorly lit photograph may be useless if you need to prove the condition of a wall or floor.
Tips for Effective Property Photography
- Use your smartphone's rear camera, which typically has higher resolution.
- Shoot in good natural or artificial light. Avoid shadows that obscure details.
- Include reference objects (a coin, a ruler) next to damage to provide scale.
- Enable timestamps on photographs or use an app that automatically records the date and time.
- Organize photos by room and store them in the cloud with a backup.
3. Documentation During the Tenancy
Documentation doesn't end with the move-in inspection. During the tenancy, it's advisable to keep a record of all incidents, repairs, and communications with the tenant.
Incident and Repair Logs
Every time a tenant reports a fault or requests a repair, document the request (preferably in writing), the date the repair was carried out, and the condition of the item before and after. This protects you against future claims and demonstrates that you've fulfilled your obligations as a landlord.
Written Communications
Keep all important communications with your tenant in writing: email, text messages, or messaging apps. Avoid verbal agreements for any significant matter. If you modify any condition of the lease, always do so in writing and keep a copy.
4. The Move-Out Inspection: How to Do It Right
When the tenant vacates the property, you should conduct a move-out inspection that's just as thorough as the move-in one. The process is the same: photographs, video, meter readings, and inventory if applicable.
Move-In vs. Move-Out Comparison
The key is comparing the current condition with what was recorded at move-in. You must distinguish between normal wear and tear (which cannot be charged to the tenant) and damage caused by negligence or misuse. This distinction is critical in any security deposit dispute.
Normal wear and tear includes: small marks on walls from everyday use, slight discoloration of surfaces over time, or natural wear on carpets and floors. Chargeable damage includes: holes in walls, difficult-to-remove stains, appliances broken through misuse, or damaged furniture.
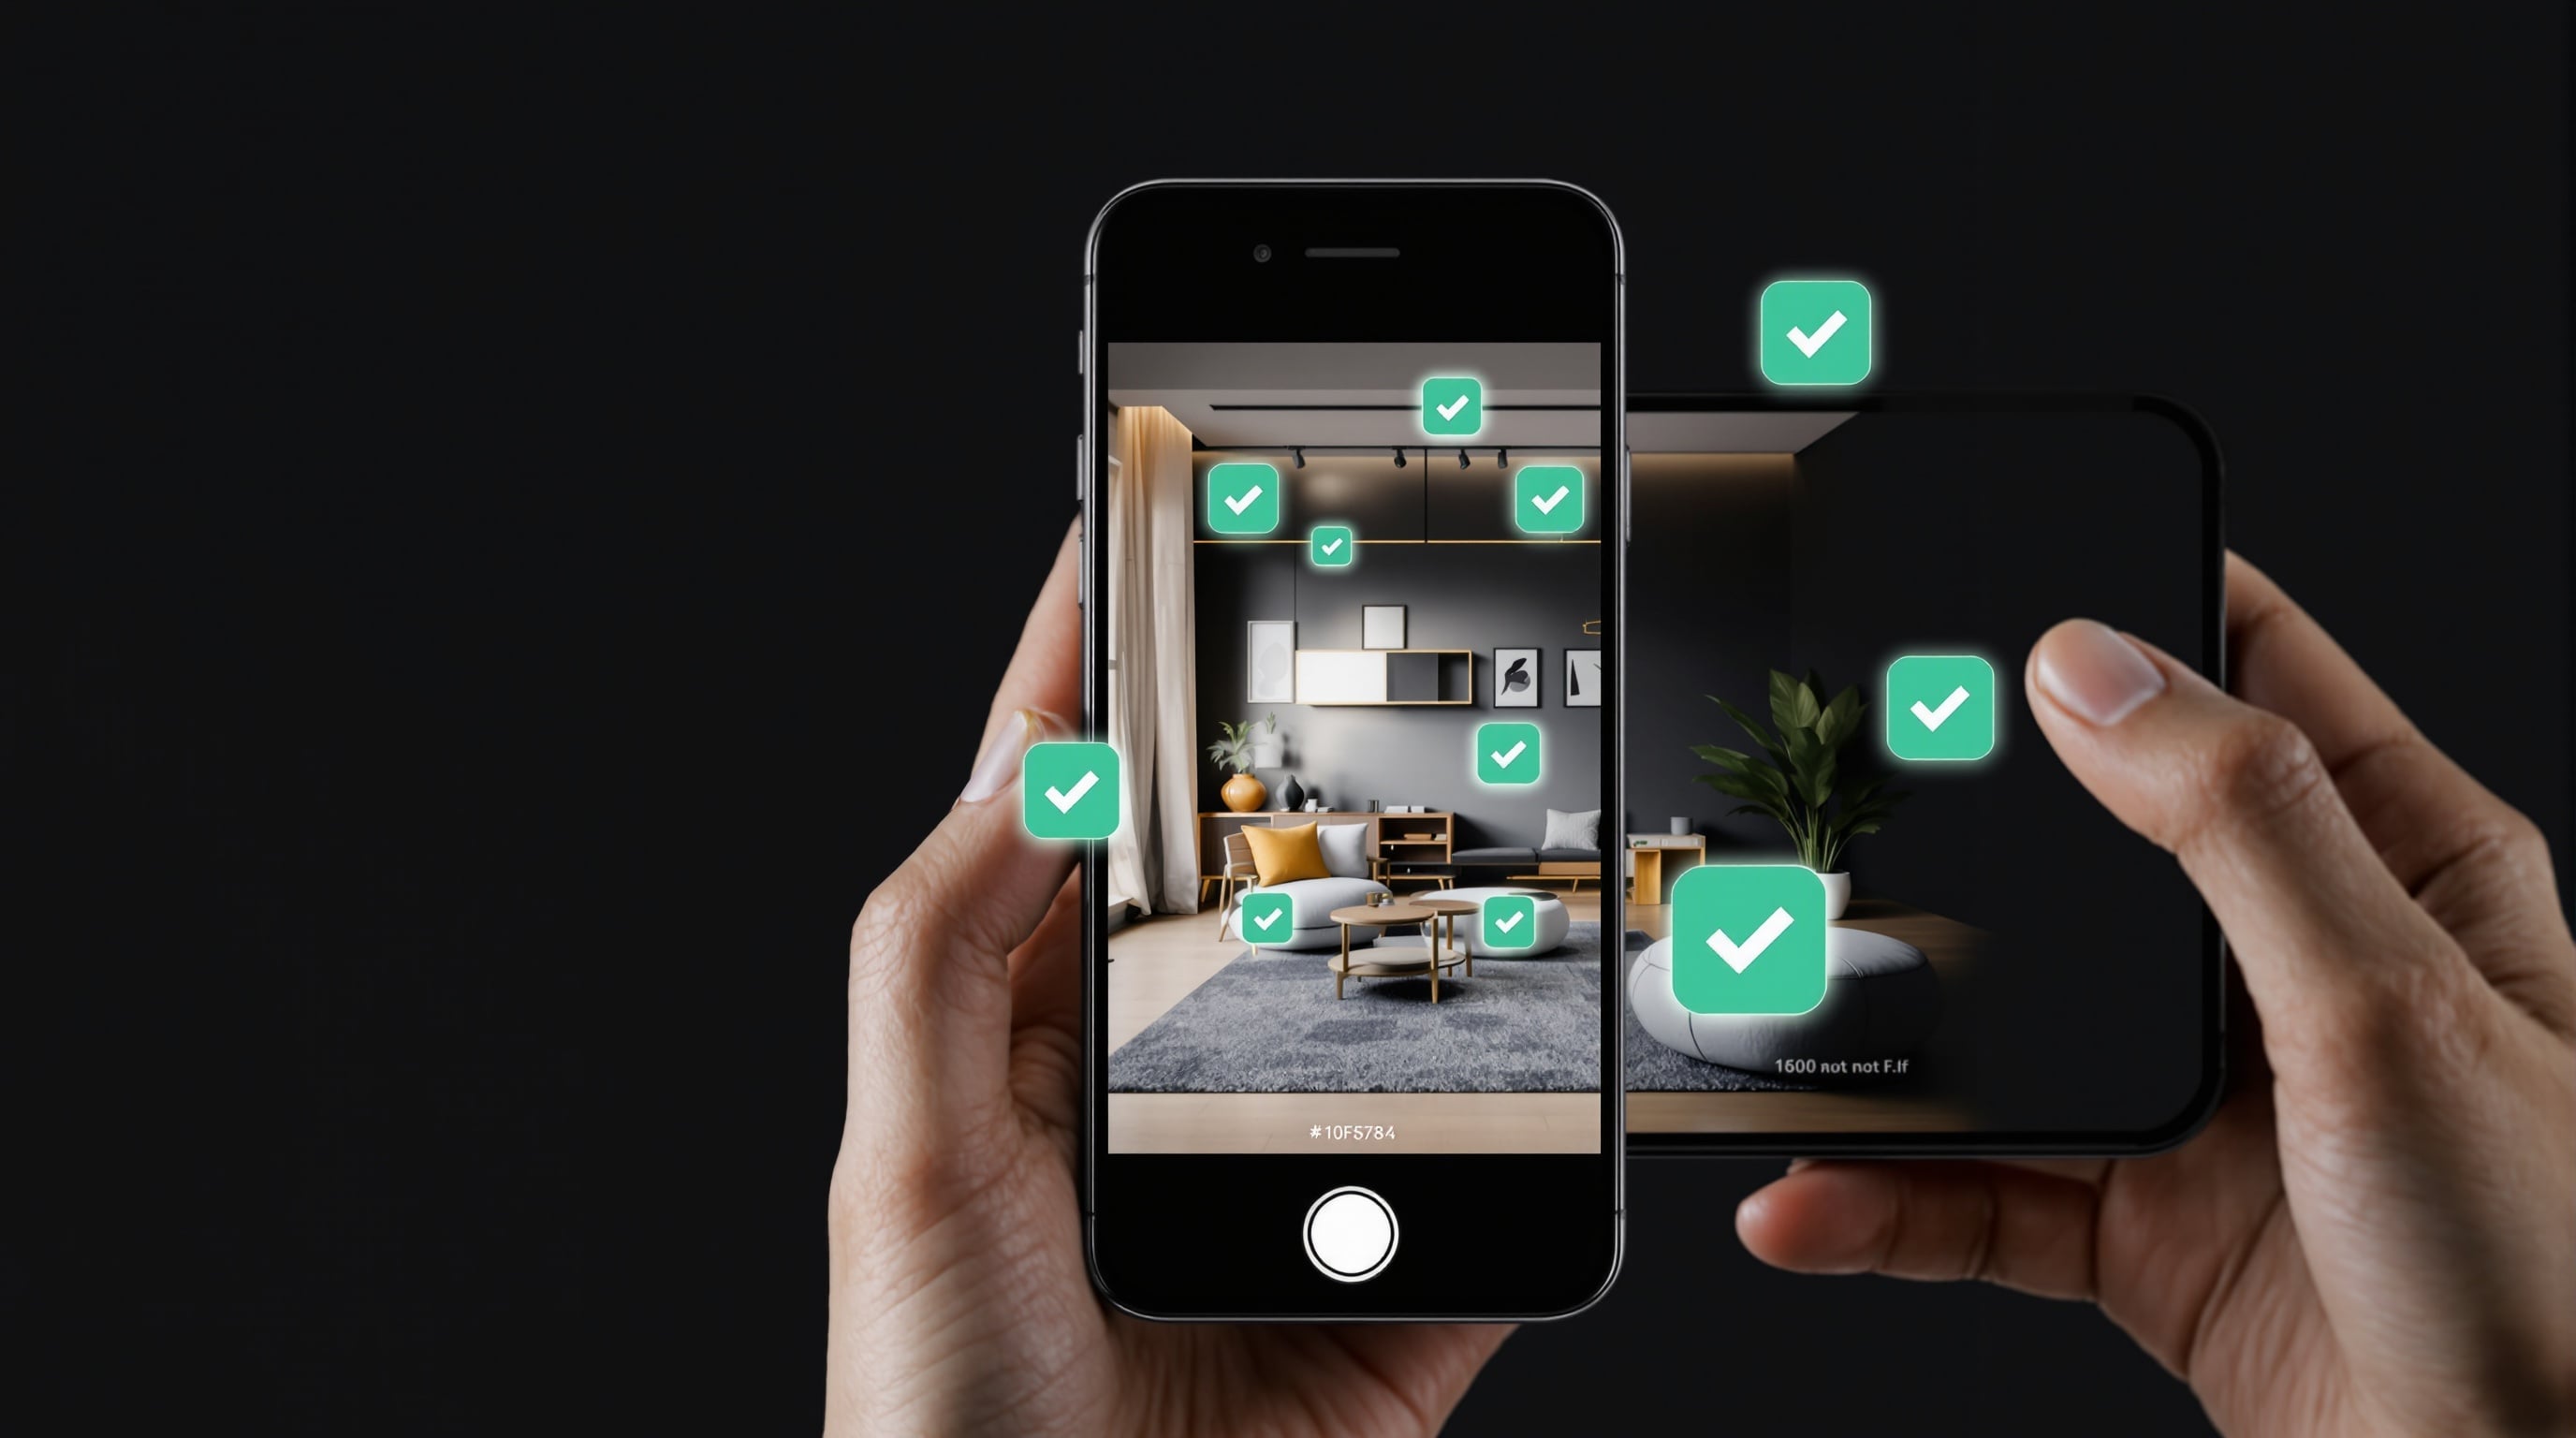
5. Digital Tools for Property Documentation
Technology has transformed how landlords document their properties. Today there are specialized apps and platforms that make this process significantly easier.
Advantages of Digital Tools
- Automatic timestamps: every photograph is recorded with date, time, and in many cases GPS location.
- Cloud storage: your records are safe and accessible from any device.
- Easy sharing: you can send the report to the tenant with a single click.
- Structured organization: specialized tools guide you room by room so you don't miss any element.
Platforms like CertiPlace are designed specifically for this purpose, allowing you to create comprehensive inspection reports that can be shared and stored securely.
6. Legal Considerations in the US and UK
In the United States, security deposit laws vary by state, but most require landlords to return deposits within 14 to 30 days of move-out, along with an itemized list of any deductions. Without documented evidence of damage, courts typically side with tenants. In the UK, landlords must protect deposits in a government-approved scheme and provide detailed reasons for any deductions — again, documentation is your strongest defense.
Security Deposits and Deductions
Solid documentation is your best ally for demonstrating that damage existed and that deductions are legitimate. Without it, any tenant claim may succeed simply due to lack of evidence. Courts and deposit dispute services consistently favor the party with the better documentation.
7. Common Mistakes to Avoid
- Not documenting before move-in: this is the most serious mistake. Without a prior record, you can't prove what damage the tenant caused.
- Poor quality photographs: blurry or poorly lit images won't serve as evidence.
- Not having the tenant sign the document: both parties' signatures validate the record.
- Forgetting exterior areas: balconies, gardens, garages, and storage units must also be documented.
- Not updating documentation: if you carry out renovations during the tenancy, update the record.
Conclusion
Thorough documentation of your rental property is the most cost-effective investment of time you can make as a landlord. It protects you against disputes, simplifies deposit management, and gives you legal security in any conflict. With the digital tools available today, this process is easier and more reliable than ever. Don't wait for a problem to start documenting — do it from day one.