Move-In Day: The Opportunity You Can't Afford to Miss
The day you receive the keys to your new rental is undoubtedly one of the most exciting moments of any move. But it's also the most critical moment for protecting your security deposit. Many tenants make the mistake of focusing on the move itself and forgetting to document the property's condition before bringing in their belongings. This oversight can cost them hundreds or even thousands of dollars when the tenancy ends.
In this guide, we provide a complete, practical checklist for thoroughly documenting your new rental on move-in day. Follow these steps and you'll be in the best possible position to get your full deposit back when the time comes to move out.
1. Before You Start: What You Need
To properly document the property's condition, you'll need:
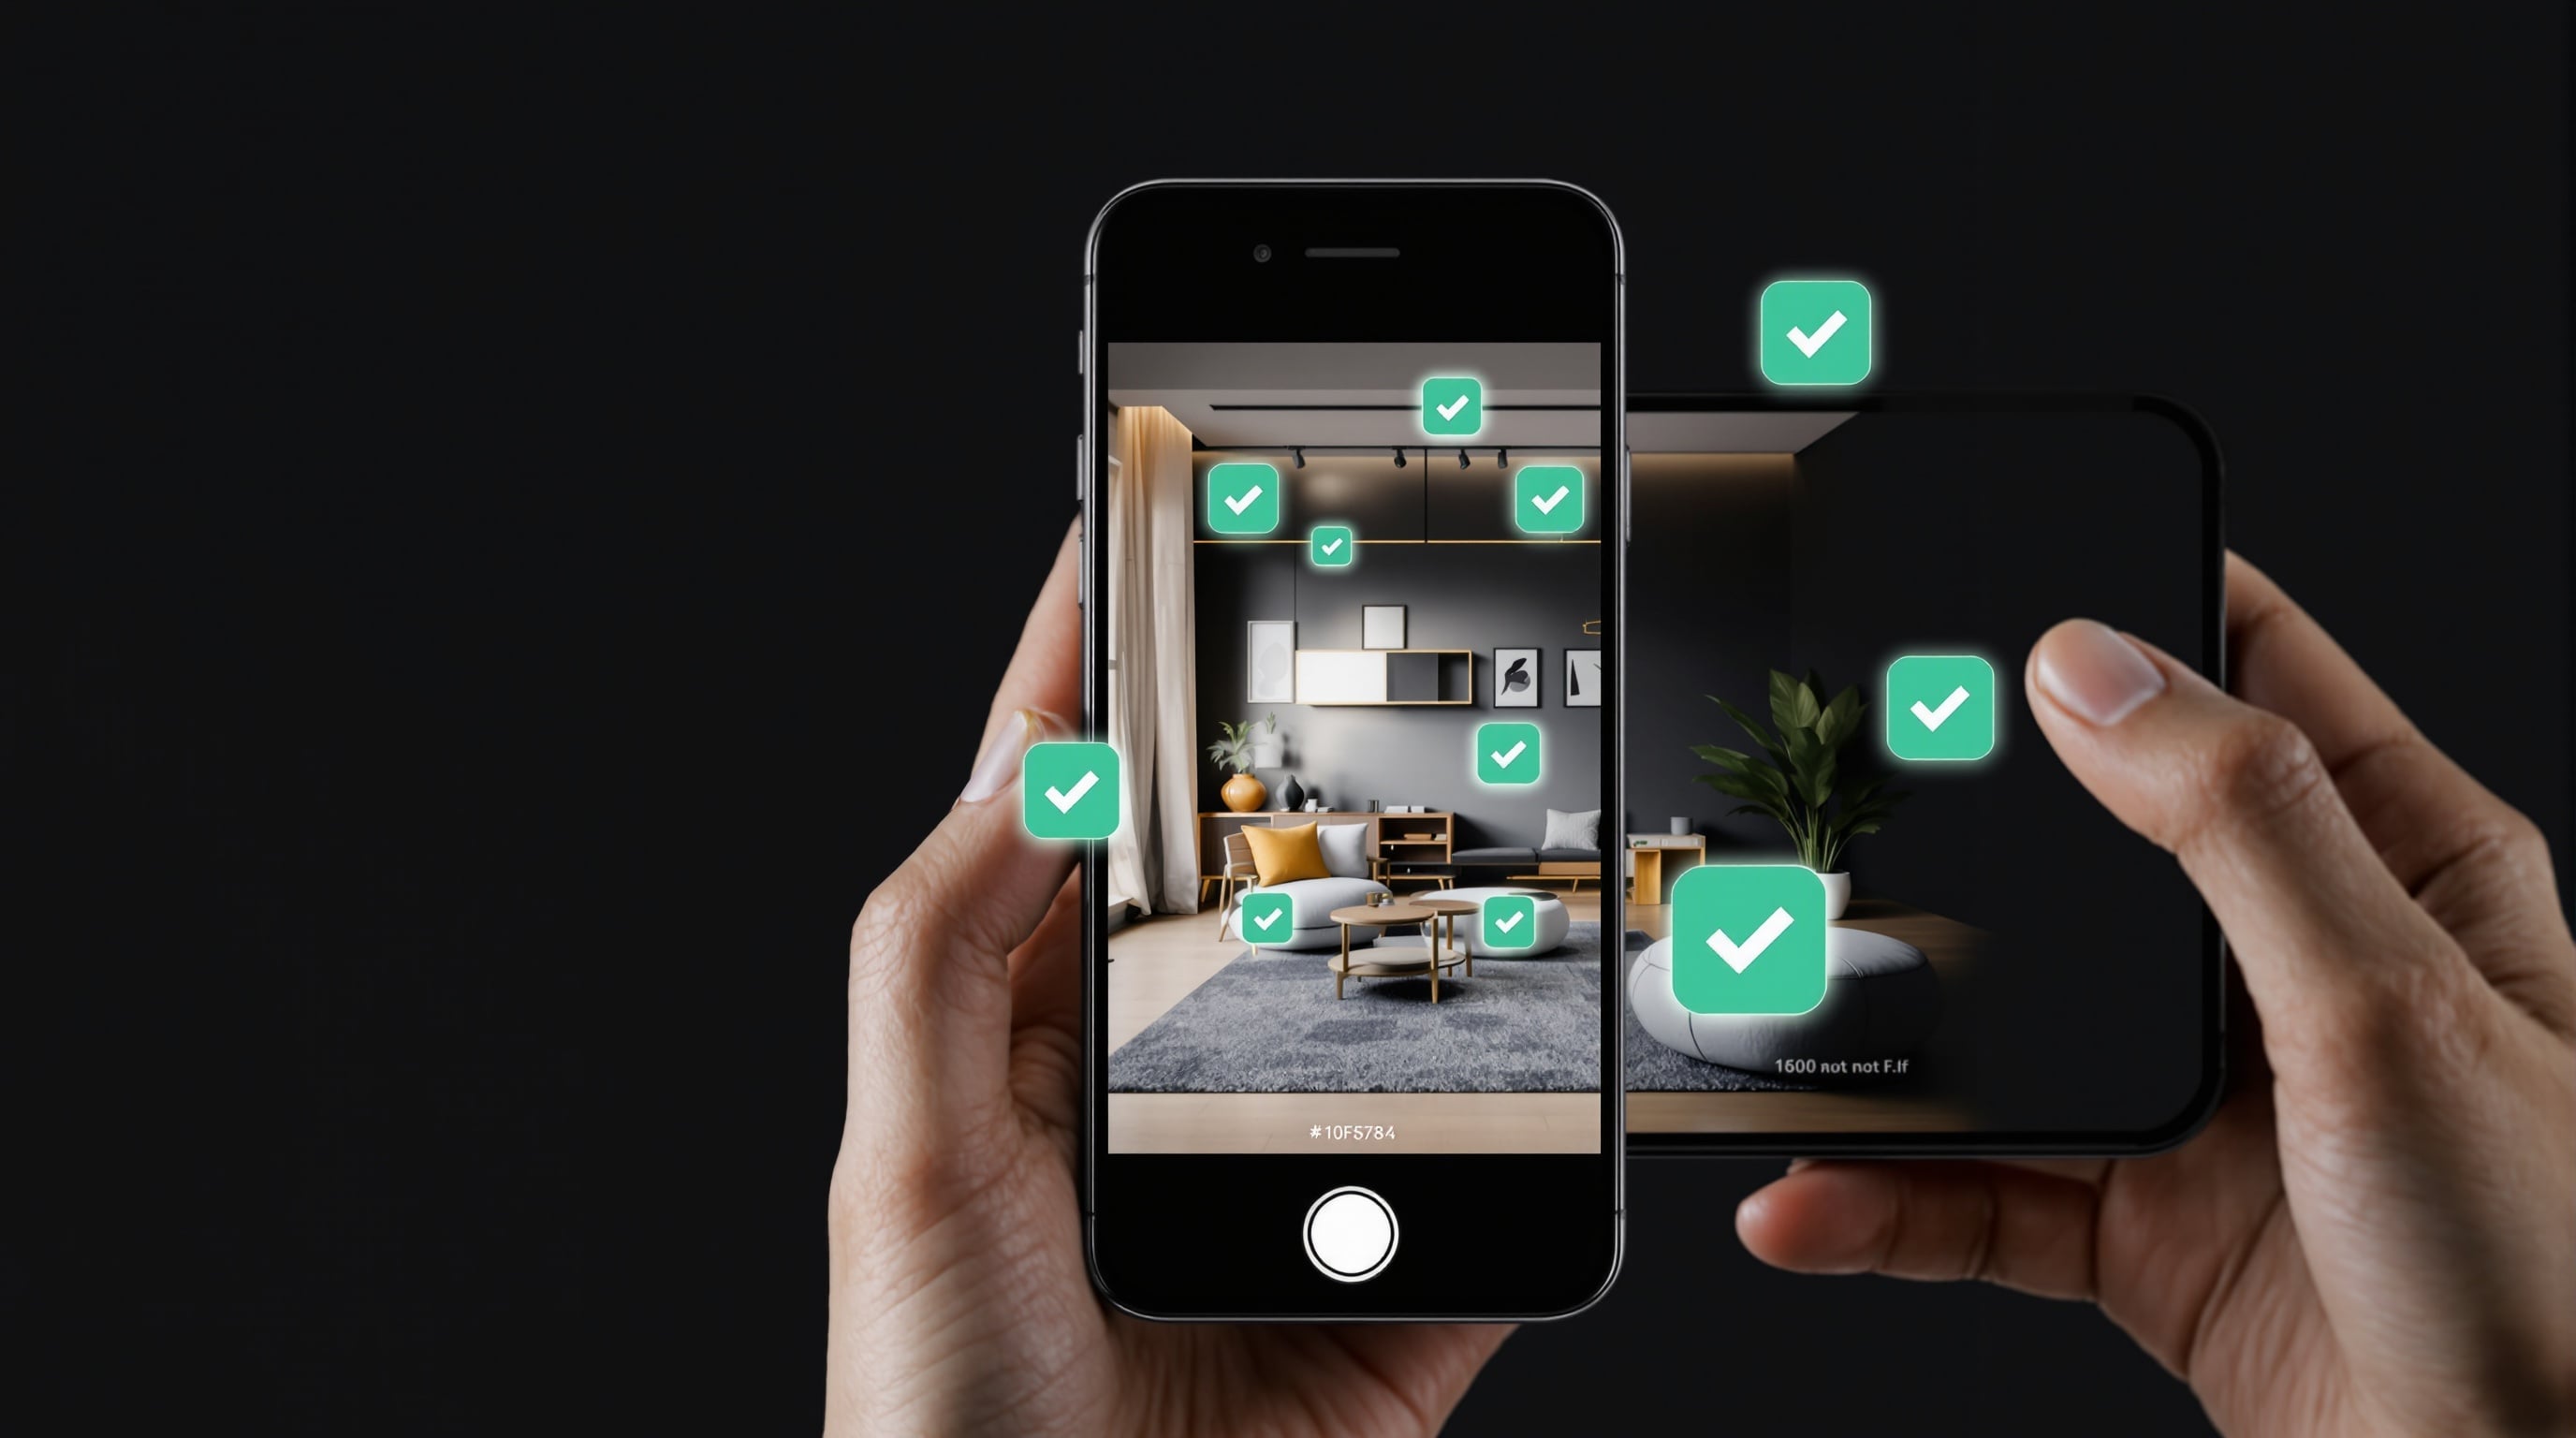
- A smartphone with a good camera: most modern smartphones have more than adequate cameras for this purpose.
- A documentation app: tools like CertiPlace allow you to create records with automatic timestamps, far more reliable than gallery photos.
- Enough time: set aside at least two hours to document the property properly before you start moving furniture.
- The lease and inventory: have the rental agreement and inventory (if the property is furnished) on hand to verify everything is in order.
2. Room-by-Room Checklist
Entrance and Common Areas
- Condition of the front door: lock, peephole, mailbox.
- Condition of floors, walls, and ceiling in the hallway.
- Functioning of the doorbell and intercom.
- Condition of any closets or storage in the entrance.
Living Room and Dining Area
- Wall condition: stains, holes, scuffs, damp patches.
- Floor condition: scratches, stains, broken tiles.
- Ceiling condition: damp stains, cracks.
- Functioning of outlets and light switches.
- Condition of windows and blinds: operation, glass, frames.
- Condition of radiators or HVAC system.
- If furnished: condition of each piece of furniture (sofa, table, chairs, shelving).
Kitchen
- Condition of countertops, sink, and faucet.
- Functioning of all burners or cooktop.
- Functioning of oven and microwave.
- Condition and functioning of refrigerator and freezer.
- Functioning of dishwasher (if present).
- Condition of cabinets and drawers.
- Condition of tiles and floor.
- Functioning of range hood.
Bedrooms
- Condition of walls, floor, and ceiling.
- Functioning of outlets and light switches.
- Condition of windows, blinds, and curtains.
- Condition of built-in closets: doors, rails, shelves.
- If furnished: condition of bed, mattress, nightstands, dressers.
Bathrooms
- Condition and functioning of toilet: cistern, seat, mechanism.
- Condition and functioning of shower or bathtub.
- Condition of faucet and shower screen or curtain.
- Condition of tiles: cracks, stains, grout.
- Functioning of ventilation fan.
- Condition of mirror and bathroom cabinet.
- Presence of damp or mold.
Balcony, Terrace, or Garden (if applicable)
- Condition of floor and railings.
- Condition of awnings or exterior blinds.
- Condition of exterior installations (water points, electricity).
3. General Elements You Shouldn't Forget
- Utility meters: photograph water, electricity, and gas meters with the date visible. Note the readings.
- Keys: verify you receive all agreed keys (front door, mailbox, garage, storage).
- Electrical installation: check that all outlets and switches work correctly.
- Heating and hot water: verify that the heating system and hot water work correctly.
- Smoke detectors: check they are installed and functioning.
4. How to Take Effective Photographs
The quality of your photographs can make the difference in a dispute. Follow these guidelines:
- Photograph in good light: open blinds and turn on lights.
- Take photos from multiple angles of each room.
- Photograph damage up close, including a reference object for scale.
- Enable timestamps on your camera or use an app that records them automatically.
- Also record a walkthrough video describing the condition of each element.
5. The Inspection Document: How to Formalize It
Once the inspection is complete, it's essential to formalize the record:
- Compile all photographs and video in a document organized by room.
- Add descriptive notes about any damage found.
- Share the document with the landlord and request their signature or written confirmation.
- Save a copy in the cloud and another locally.
If you use CertiPlace, the organization and sharing process is automatic, saving you time and ensuring the record is complete and verifiable.
6. What to Do If the Landlord Won't Sign
If the landlord refuses to sign the inspection document, don't give up. Send them the record by email or certified mail, noting that you've documented the property's condition and given them the opportunity to review it. This written communication has evidentiary value even if the landlord doesn't respond.
Conclusion
Documenting your new rental's condition on move-in day is the most cost-effective investment of time you can make as a tenant. Two hours of work on the first day can save you months of conflict and the loss of your deposit at the end of the tenancy. Use this checklist, photograph everything in detail, and formalize the record. Your future peace of mind depends on what you do today.